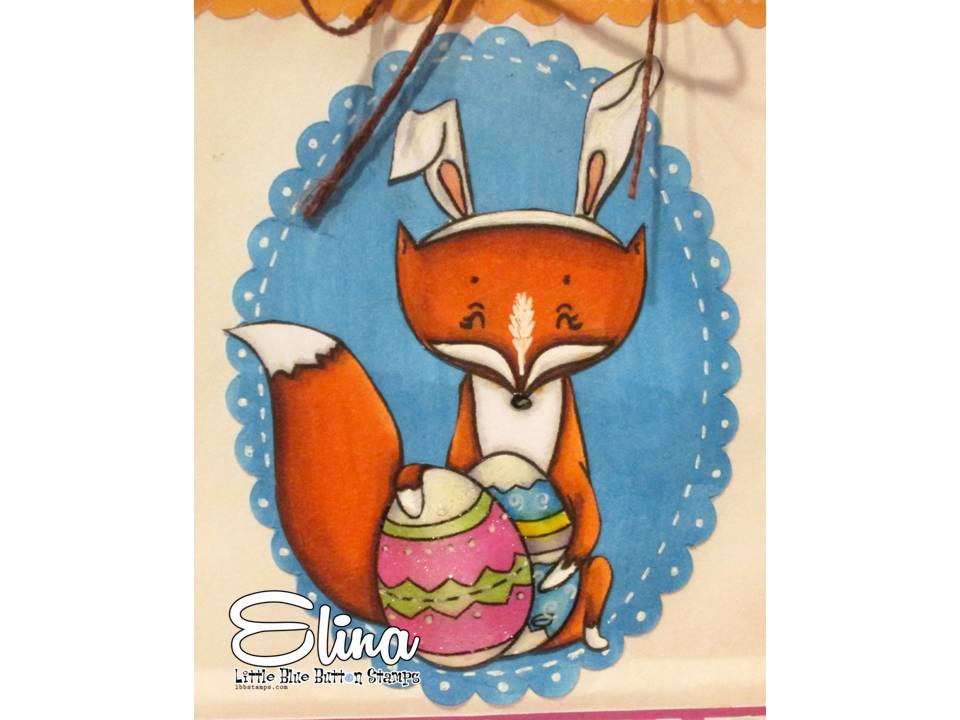
Here's the pic for you to check out:

The card measures 4 1/4" x 6" and uses a sheet of craft card stock for the base.
For my card layers, I selected a few patterned papers from the "Mother Goose" 8" x 8" paper pad from Graphic 45.
Then, I cut the floral paper at 4" x 5 3/4," and the text paper at 3 1/2" x 5 1/4".
I layered the papers on top of each other and attached them to the card base using my tape runner.
Next, I set the card aside to work to the image.
I colored her in using my alcohol markers, and here's a rundown of the colors I used:
-Skin- Ivory, Vanilla, R20
-Hair- E70, E29, E79
-Dress- Y13, Y15, Y18
-Hat & Accessories- R17, R27, Linen, Maple
-Flower, Pot & Watering Can- RV000, RV55, B14, E97, E99, E29
-Grass- G46, G28

I added my Wink of Stella glitter pen to add a little sparkle to her dress and gloves.
I then hand drew a fence behind the image and colored it in using my C01 & C03 Copic markers.
I used my G46 & G28 markers to color in some grass along the bottom.
Next, I trimmed the image panel down to 3 1/4" x 5 1/8" and attached it to the card base.
As a finishing touch, I added the sentiment "Mary, Mary quite Contrary" from one of the cut-a-parts in the collection.
Finally, I added a few dash lines around the edge of the card using my white gel pen.
And voila!! Card complete!!

I hope you enjoyed this card for today!!
Thanks for stopping by, and enjoy the rest of your day!! :)

Post edited by: Shyann Martinez