Isn't he cute?!
This is a standard A2 size card.
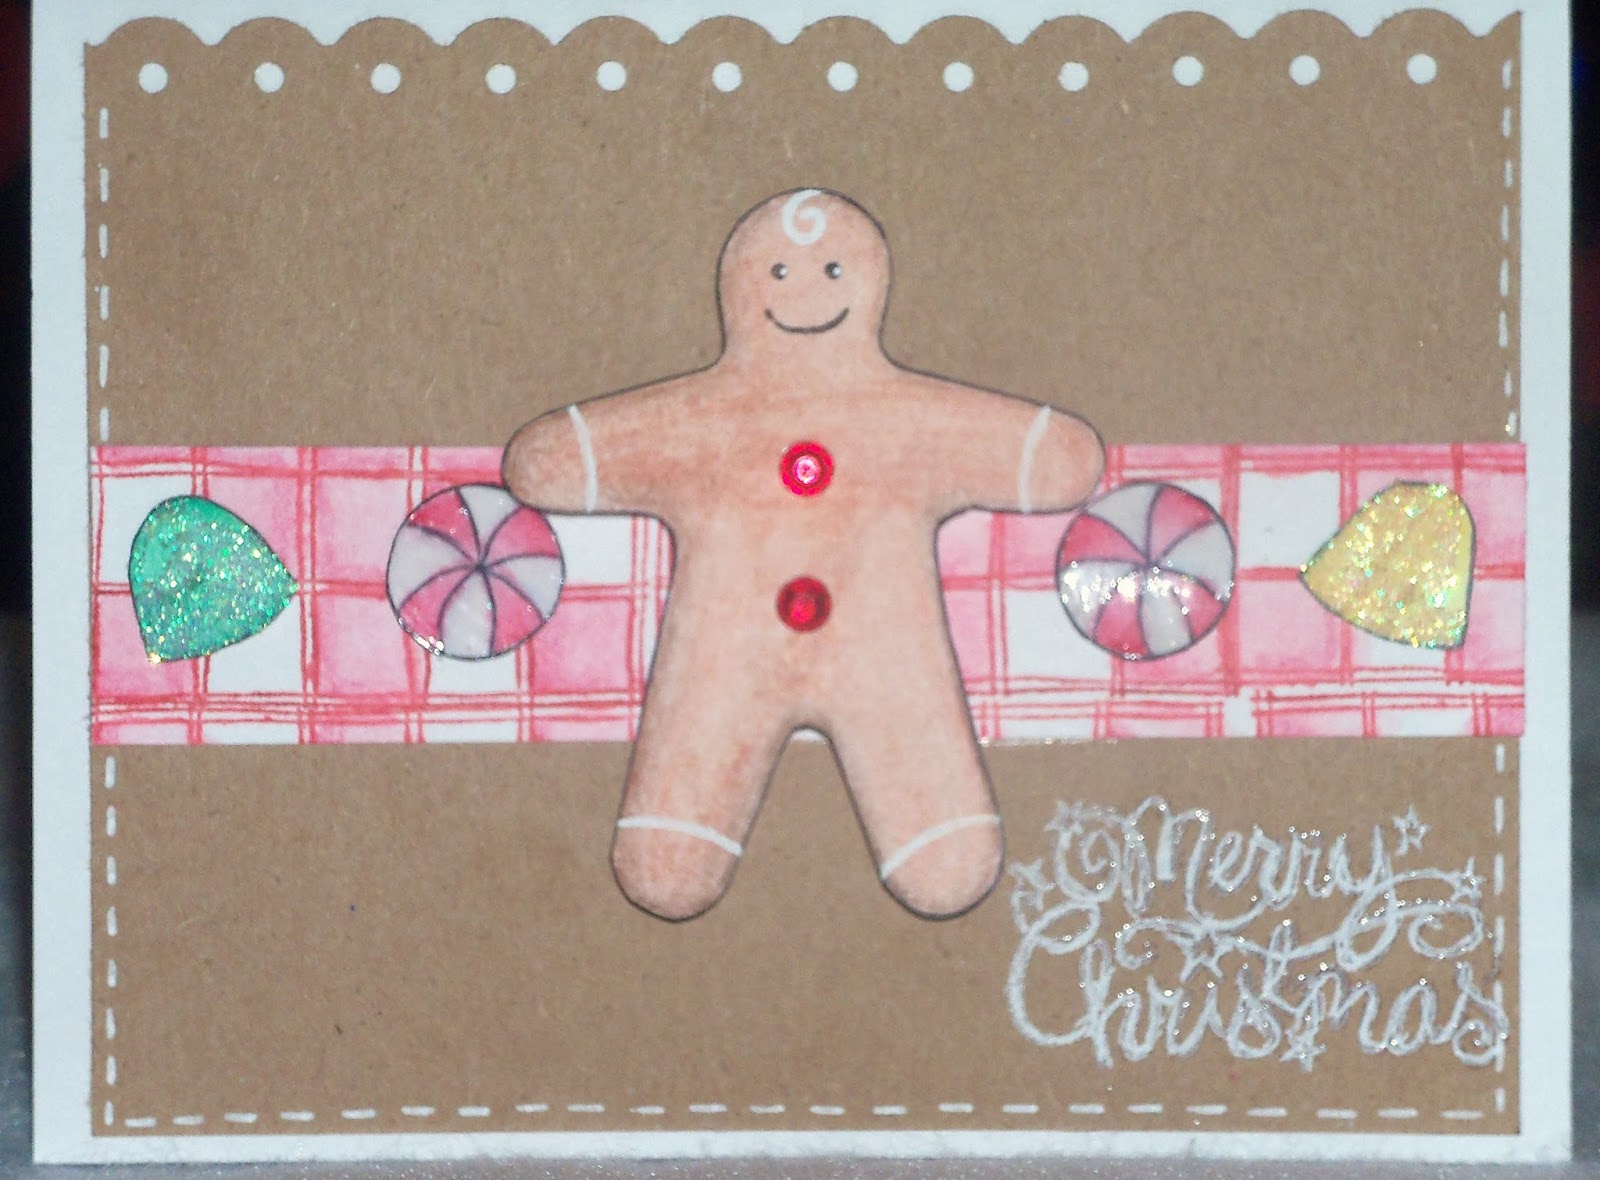
I used white cardstock as the base and added a piece of kraft cardstock for the layer.
I punched the decorative border at the top using my Threading Water punch from Fiskars.
I added some faux stitching with my white gel pen and the sentiment "Merry Christmas" to the lower right corner.
Now for gingerbread man, I used a Christmas stencil to trace him out on white cardstock. I used a black pen instead of a pencil to mimic a stamped image that's been cut out. I added some watercoloring to the gingerbread man to give him that fresh from the oven look. I used my white gel pen to add some detail to the arms and legs. A black pen for the eyes and mouth and a few red rhinestones completes the look.
Now for the peppermints and gumdrops, I drew those out by hand onto white cardstock..
I added some color using my watercolor pencils. For the gumdrops, I used glitter to give them a sugary look. I used Crystal Effects for the peppermints, which is sort of like Glossy Accents, and I love how they turned out. These candies look good enough to eat!
I mounted all these goodies onto a strip of red and white patterned paper cut at 2".
I made this paper using a Graph stamp from Annette Anne Watkins in Ruby Red ink.
My hubby purchased this stamp from Ebay and I'm not sure if they still make these. But I loved how it looked. I added some watercoloring to it to fill in some of the squares and adhered it to the card base using my ATG gun.

For the inside of the card, I used a piece of kraft using the same faux stitching as the front.
I added a strip of the patterned paper cut at 1" to the bottom.
And lastly, I stamped the sentiment "Warm Holiday Wishes" in white ink.
And voila! my card is complete!

I hope you all enjoyed this project for today! I had a lot of fun creating it.
I hope to finish my page for the paper bag album series sometime this week. My craft area is still a mess!! Hubby is finishing up the shelving he's making for me. I hope to have my area back to normal later today so I can finish up some other crafts I had to put on hold. I will end this post here for now and hope yall enjoy the rest of your day!! Peace!! :)

No comments:
Post a Comment