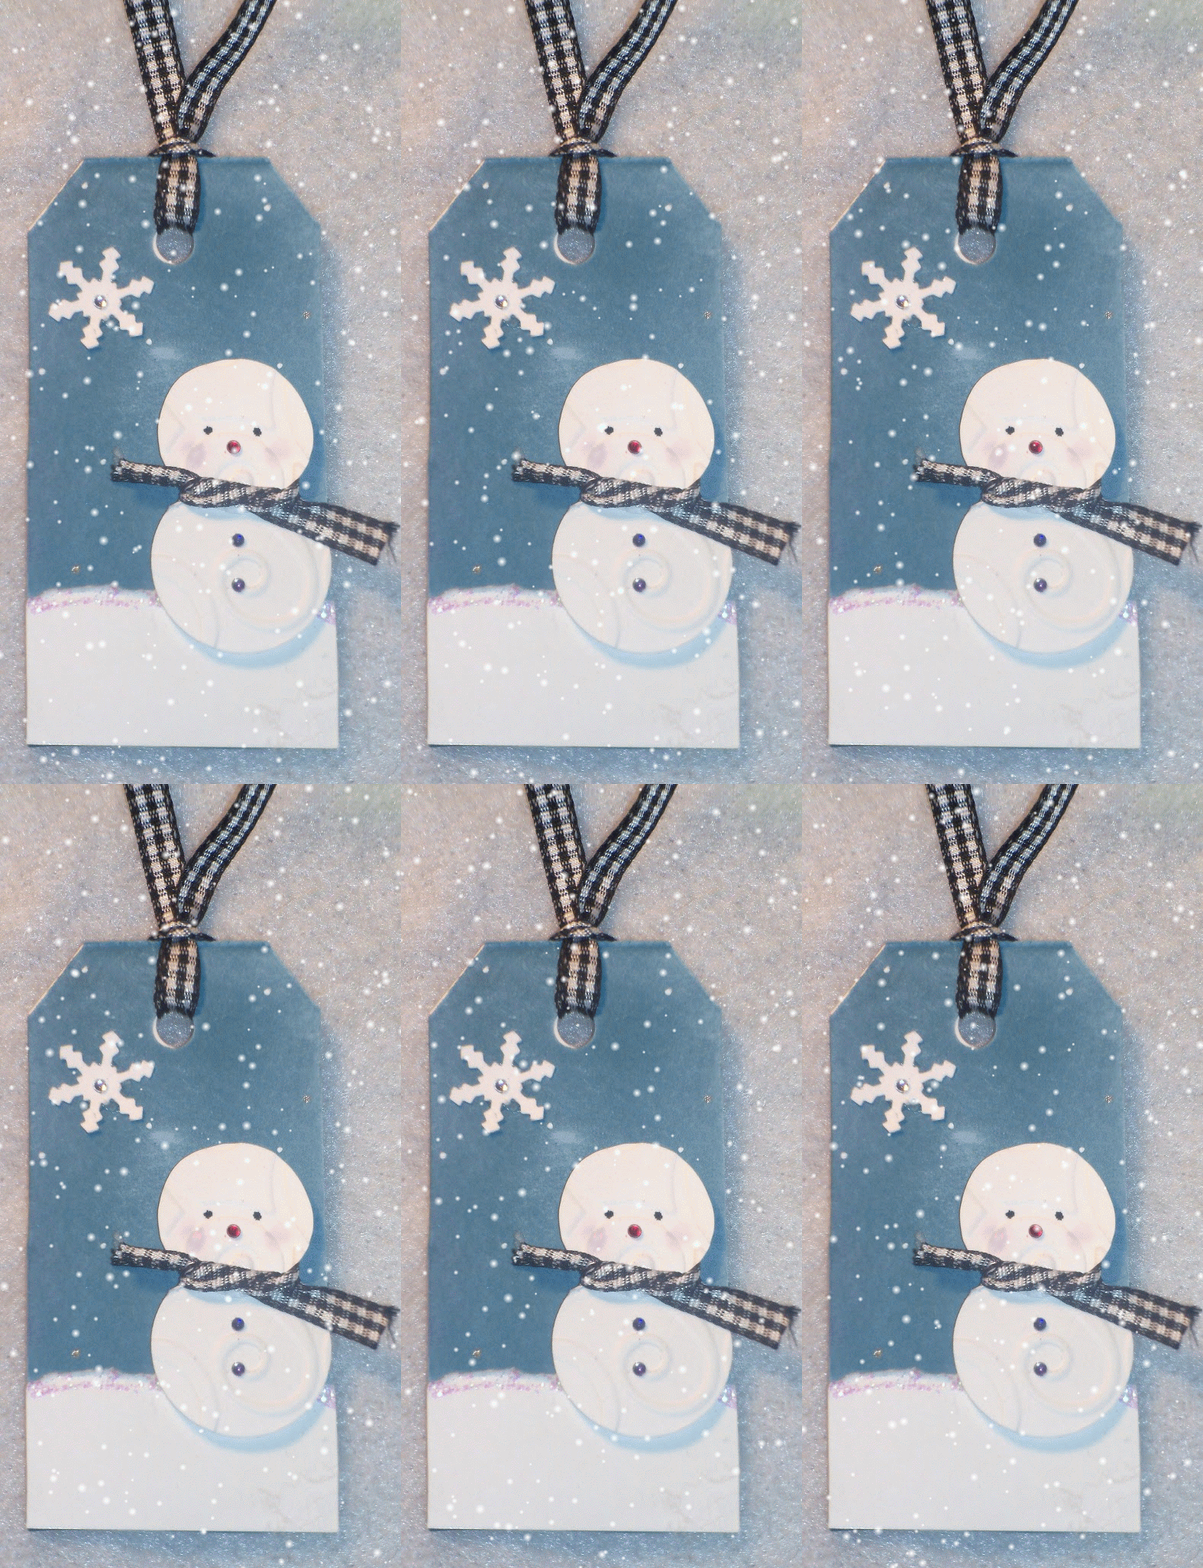
I love this little snowman tag!!
This was the first one I made and the inspiration came from Better Homes and Gardens Holiday mag I picked up. The tag size is 1 3/4 x 3 1/2. I wanted to create a snowy scene for the background. To achieve this, I used a Brocade Blue inkpad from Stampin Up to add some color to the tag. Once the background was dry, I added some dots with my white gel pen to mimic a snowy sky. For the bottom half of the tag, I layered a strip of white cardstock approximately 1 1/2" and tore the edge. I adhered it directly to the tag using my ATG gun and added stickles to for a little sparkle. For the little snowman, I layered two circles (1 1/4 "and 1") and embossed them using my D'Vine Swirls embossing folder. It gave me a nice textured look and made him really stand out from the background. I used pop dots to adhere him to the tag. To finish off my snowman, I used rhinestones for the eyes, buttons, and nose and a strip of black gingham ribbon as the scarf. The addition of a die cut snowflake and black gingham ribbon completes the look.
I love these ornament tags!! I think they are so cute!!
These tags are the same size as the snowman ones but I used kraft cardstock for the tag base. These were also inspired by the Better Homes and Gardens Holiday mag. For the ornaments, I punched out six 1" circles for each one in red, green and white. I used patterned cardstock I stamped a while back. To make them, you fold each circle in half and attach them together. Adhere the ends to the tag and there you have your 3D ornament. I used embroidery floss, red rhinestones and leaves to embellish the tops of the ornaments. In the inspiration piece, they p[oked holes around the perimeter but I used my white gel pen to achieve a similar look. To finish them off, I stamped the sentiments and tied a ribbon at the top.
For this final tag I wanted to showcase, the design is fairly simple. I used the same size tag as the other two. I added a die cut Christmas tree I embossed using my D'Vine Swirls embossing folder. I cut a 1/2" strip of brown cardstock to act as the trunk and adhered it to the bottom of the tag. I attached the tree and added some rhinestones and a star to decorate it. To finish off the look, I added 3 rhinestones to the right hand side and voila, christmas gift tags complete!
I hope you all enjoyed these cute little tags I made. I think they would add a nice touch to any wrapped gift. I'll end this post here for now, I still have a ton of housework that needs to be done! I'm hoping to work on the next page to my paper bag album this weekend! At least that's the goal!
I would like to have it completed before the New Year. So I hope you all will stay tuned for that. Enjoy the rest of your FRIDAY!! and Peace!! :)


No comments:
Post a Comment