I wanted to share this quick project I just finished.
Hubby went to a local home improvement store last week and brought back these awesome 6 x 7 3/4" ceramic tiles.
I took one look and the gears in my head started turning.
I have made coasters before using smaller 4 x 4" tiles and I knew I wanted to try something a little different with these bigger ones.
Then it hit me. Aha! I can trying stamping these.
The problem: I wasn't sure what ink would work best? and can I use my alcohol markers?
To find the answers to these questions, as for most of my crafting conundrums, was YouTube.
I was able to find some helpful videos that answered my questions.
So with answers in hand, I set about giving this latest project a try.
I think it turned out nice but as always I'll let you come to that decision.
Here's the pic for your perusal:
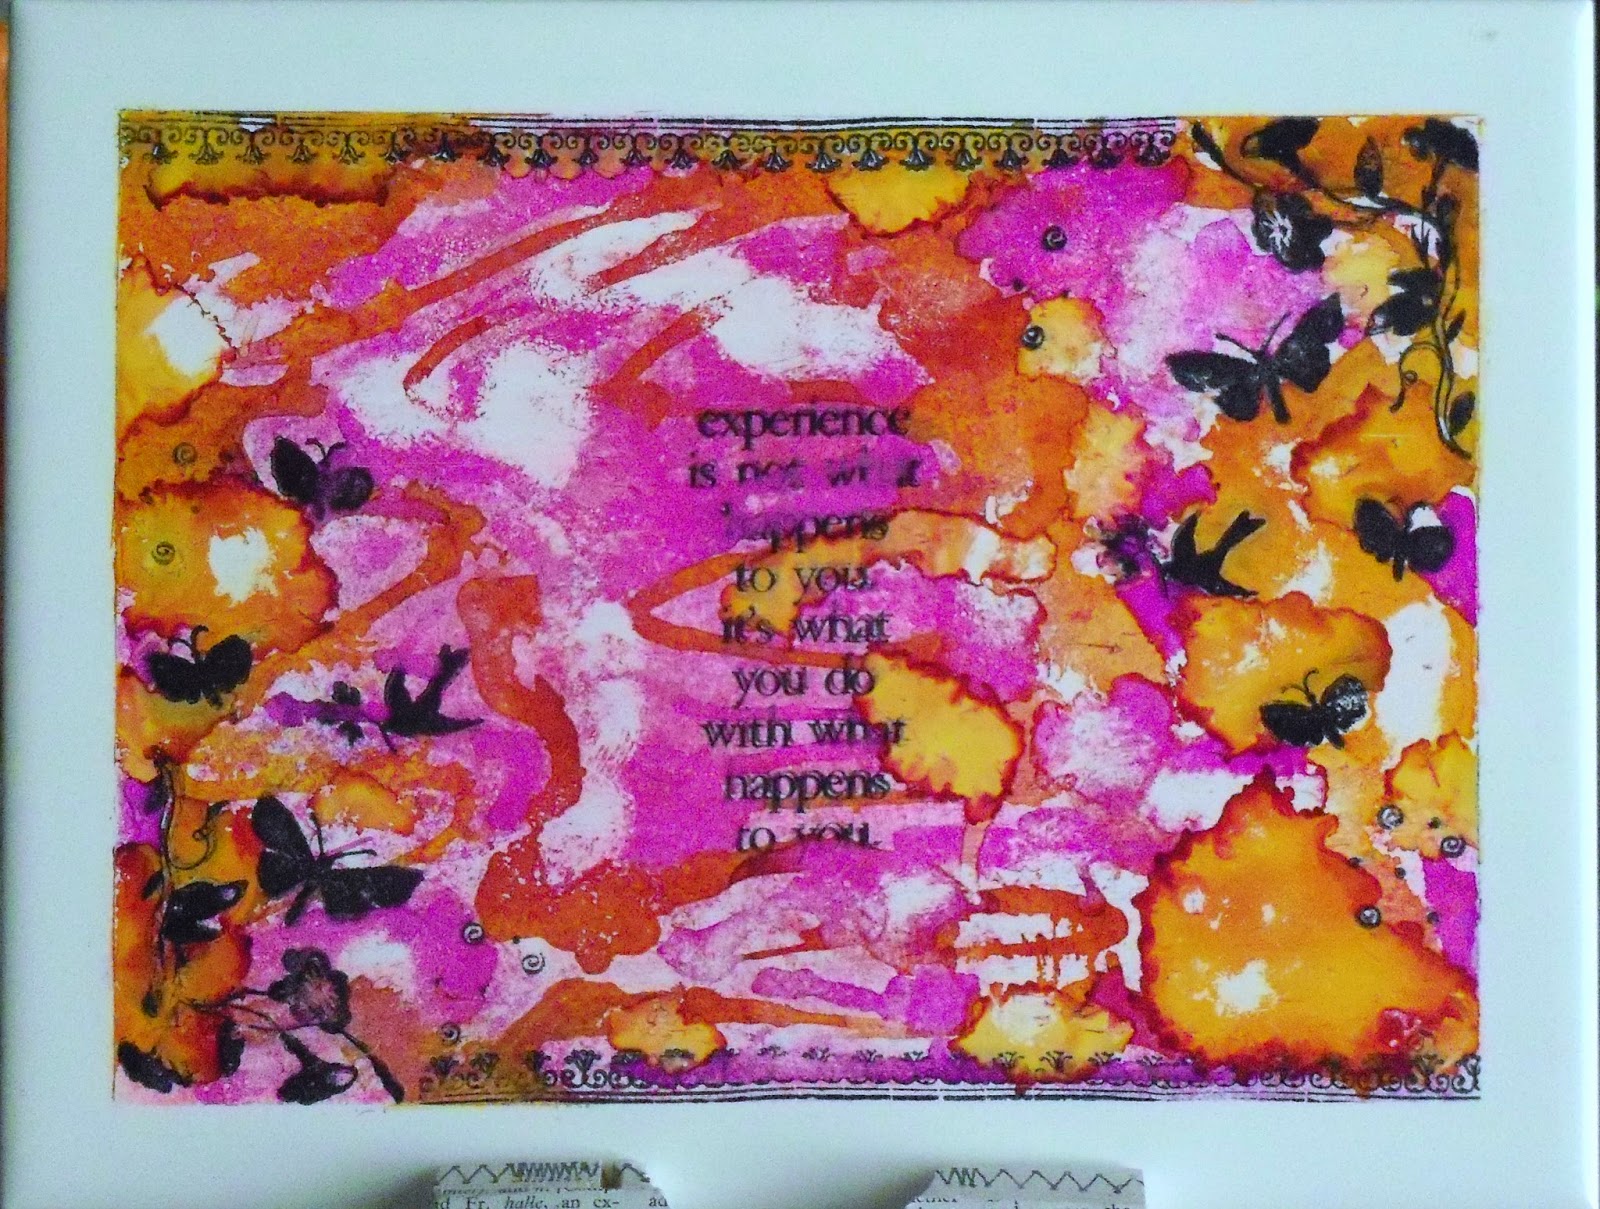
From start to finish, this project took about 45 minutes to create.
I began by masking off a 1/2" border around the perimeter of the tile using washi tape.
I grabbed my Staz On Jet Black ink, which is the best ink to use for this sort of project, and stamped a floral design in the corners.
My washi tape border came in handy for lining up my stamp.
I then stamped a decorative border along the top and bottom edge.
To fill in the area around the floral design, I stamped some butterflies and a bird.
I added a small spiral and dot background stamp to give the tile some added interest.
I also stamped the sentiment " Experience is not what happens to you, it's what you do with what happens to you." in the middle of the tile.
This sentiment came from a Tim Holtz Stamper's Anonymous set.
Once my stamping was dry, I used my Ranger Adirondack inks in Butterscotch and Wild Plum to add splashes of color.
I used a wet baby wipe to wipe off some of the color in certain areas, where the color was too concentrated.
I dried the ink using my heat tool and added a coat of homemade mod podge over the top.
Once the mod podge dried, I removed the tape and cleaned up the edges where some of the ink bleed through.
And voila! tile complete!!
Now, here are a few quick tips:
Staz On is the only ink that will work for this.
It's a solvent based ink, which allows you to use it on all kinds of materials, such as plastic, laminate, metal, etc.
If you make a mistake while stamping, a wet baby wipe can be used to wipe it off and start again.
You could set your tile by puttin it in the oven to cure but I'm inpatient so I went with mod podge instead.
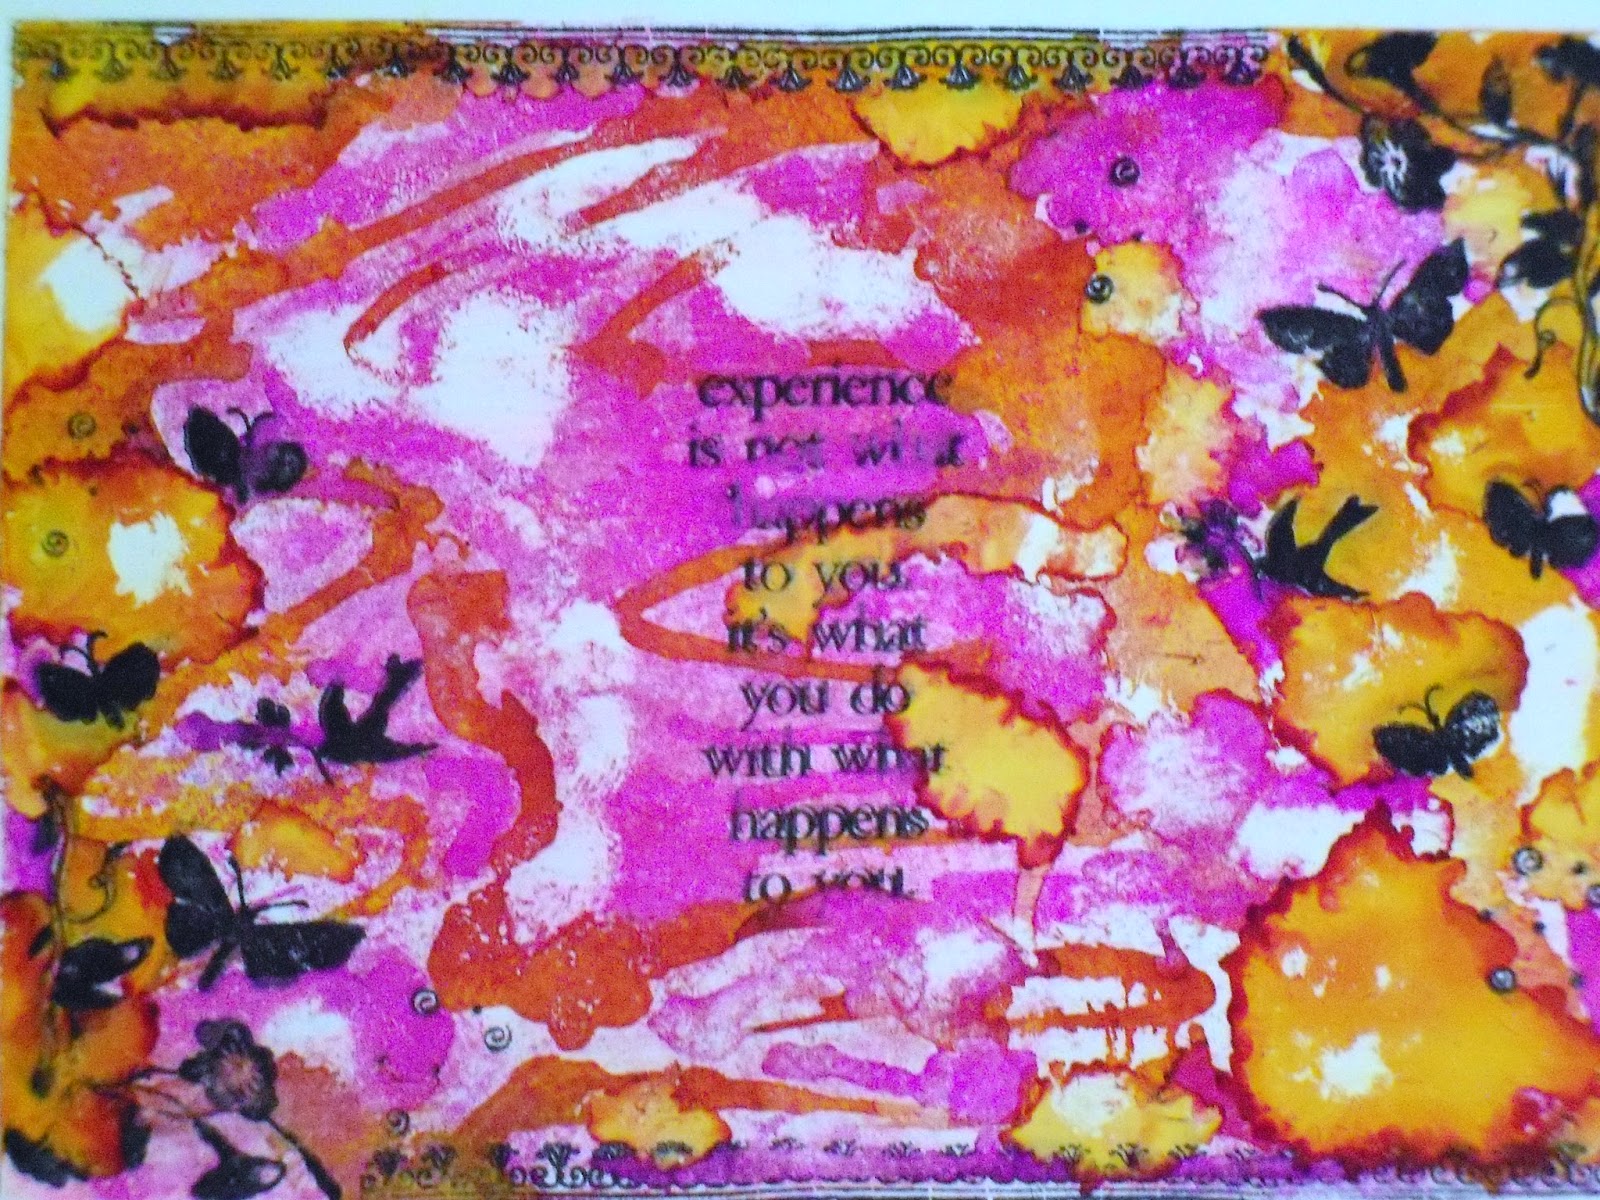
I would recommend using the alcohol inks to color the tile before stamping.
As you can see from my pic, some spots where I stamped were wiped off a little when I added color to it.
Other than that, this is definitely a project I would try again.
I had fun creating this look.
I hope you all enjoyed the project for today.
I'll end this post here, so you can get back to enjoying the rest of your T.G.I.F.
Peace!! :)

No comments:
Post a Comment